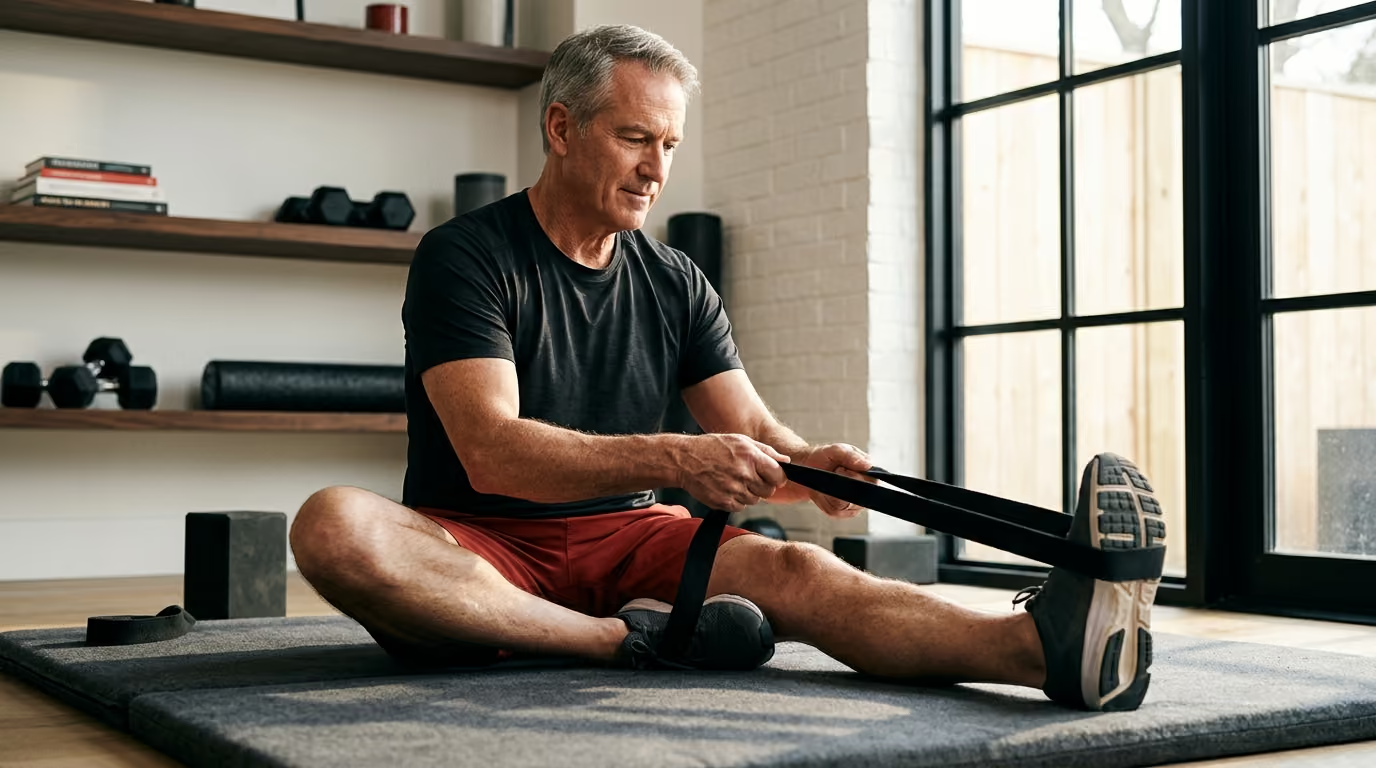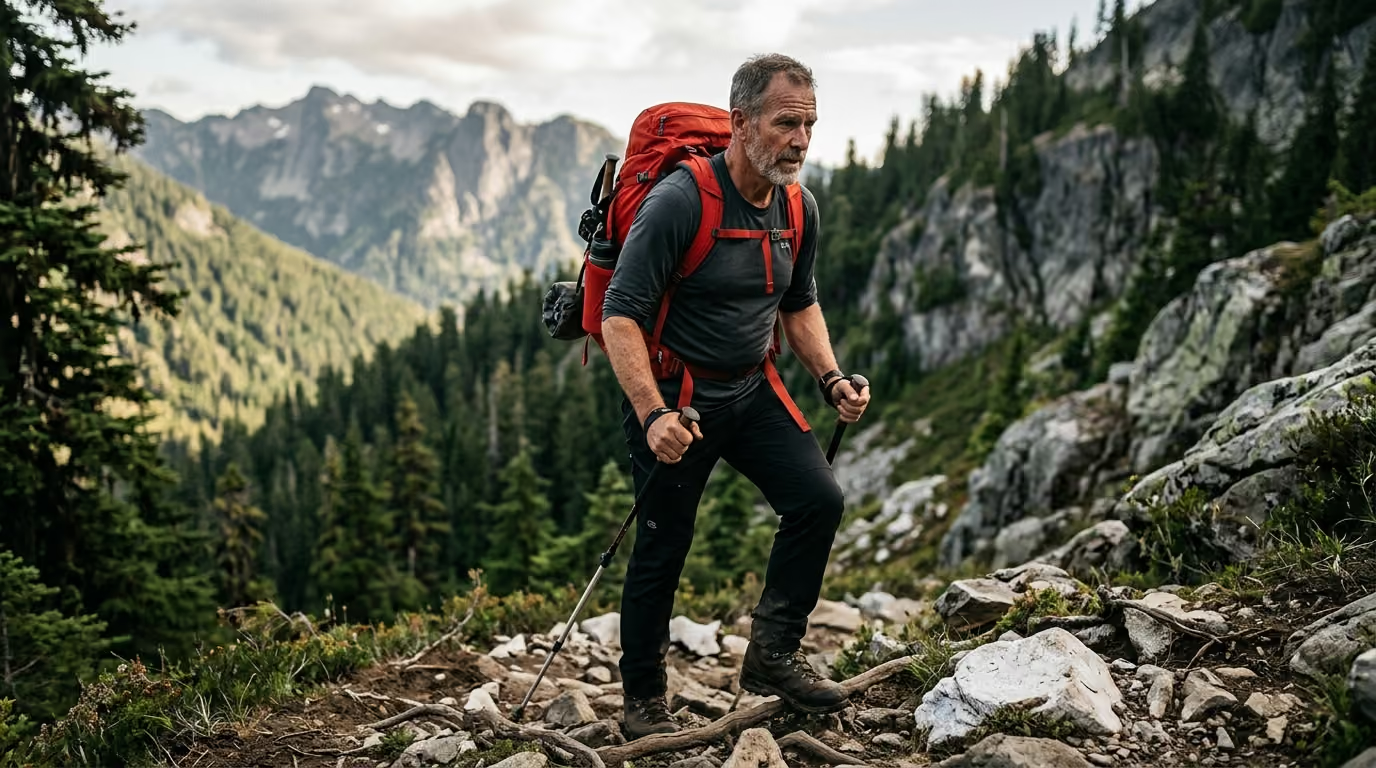
Hiking mobility is not passive flexibility, and joint strength is not simple gym machine strength. True trail readiness is the ability to produce, absorb, and direct force across irregular ground while carrying weight over several hours. It requires joints that move through functional ranges under load, muscles that can brake your body weight on steep descents, and balance systems that react instantly to shifting rocks.
Many men assume that logging miles on flat pavement or pedaling a stationary bike builds enough trail conditioning. Mountain trails place distinct mechanical demands on the ankles, knees, hips, and spine that flat ground never replicates. This comprehensive guide breaks down the biomechanics of climbing and descending, explains how movement mechanics shift with age, and outlines a structured framework to keep your joints resilient on rugged terrain.
What Does the Research Reveal About Hiking Biomechanics and Aging Joints?
Scientific research examining trail walking, load carriage, and lower-limb mechanics provides clear insights into how the body handles elevation changes. The physical demands of hiking divide sharply between uphill climbing, downhill braking, and managing uneven terrain.
- HIKING DEMANDS BY TERRAIN
- Uphill Climbing Shifts power generation from ankle to hip
- Downhill Descents Multiplies knee and hip eccentric braking
- Uneven Surfaces Requires single-leg stability and balance
- Pack Carriage Increases ground impact and trunk flexion
Uphill Biomechanics and Joint Work Redistribution
Ascending a steep trail requires sustained concentric power to lift your center of mass against gravity. Laboratory research shows that as slopes increase, the human body changes how it distributes work among the lower-limb joints.
A controlled biomechanics study compared older adults averaging 72 years with younger adults averaging 27 years across level ground and inclines of 3%, 6%, and 9%. At a 9% incline, peak ankle power generation in the older group was 18% lower than in the younger group. To compensate for reduced ankle output, peak hip power generation in the older group was 119% higher. The study also revealed that the age-related reduction in ankle joint moments was significantly greater uphill than on flat ground.
This redistribution demonstrates that uphill hiking places an intense, disproportionate load on the hips. When the calves and Achilles tendons produce less propulsive force, the glutes and hamstrings must take over the work of elevating the body. Preparing for steep ascents requires deliberate hip extension training alongside calf conditioning.
Downhill Biomechanics and Eccentric Braking
Descending a mountain places vastly different stresses on the musculoskeletal system than climbing. Downhill walking relies heavily on eccentric muscle actions, where muscles absorb energy while lengthening to brake your momentum.
A biomechanical study evaluating graded walking discovered that altering step length produced substantially larger changes in lower-extremity joint loading than altering cadence. These loading differences were far more pronounced during downhill walking than uphill climbing. The researchers concluded that hikers can directly regulate joint impact and muscular strain on descents by shortening their stride.
Taking long strides downhill dramatically increases shear forces across the knee joint and accelerates quadriceps fatigue. Controlled, shorter steps allow the hips and calves to share the braking workload, reducing localized stress on the patellofemoral joint.
Balance, Stability, and Fall Prevention Evidence
Negotiating rocky trails, wet roots, and loose scree requires high levels of single-leg balance and reactive stability. A comprehensive systematic review on lower-limb factors linked joint range of motion, muscle strength, pain, and footwear to balance and fall risk. The authors concluded that strengthening the large muscles of the lower body, paired with targeted foot and ankle training, improves balance control.
Broad public health evidence reinforces this connection. A Cochrane systematic review of 59 studies involving 12,981 older adults showed that structured exercise reduced fall rates by 23%. Programs combining balance, functional drills, and resistance training showed an estimated 34% reduction in fall rates. The World Health Organization recommends that older adults perform multicomponent physical activity emphasizing functional balance and strength at moderate or greater intensity on at least three days each week.
While clinical fall prevention studies primarily evaluate daily living tasks rather than wilderness backpacking, the underlying physiological principles apply directly to trail safety. Developing joint strength across multiple planes creates the physical reserve needed to catch your balance after an unexpected slip.
Why Do Movement Patterns and Joint Loading Shift After 45?
The mechanical changes observed during hiking reflect normal biological shifts in muscular, connective, and sensory tissues over time. Understanding these mechanisms helps you target your preparation without viewing natural aging as a decline in capability.
- PHYSIOLOGICAL DRIVERS OF TRAIL SHIFTS
- Connective Tissue Tendons stiffen, reducing passive recoil
- Muscle Architecture Fast-twitch fibers decline, slowing balance
- Hip Shift Hips compensate for lower calf push-off
- Sensory Inputs Slower joint position sensing on rocks
Tendon Stiffness and Elastic Energy Storage
Tendons act as biological springs, storing and releasing elastic energy with every stride. With advancing age, changes in collagen cross-linking alter tendon compliance. The Achilles tendon, which provides substantial recoil during level walking and uphill push-off, becomes less efficient at recycling mechanical energy.
Because the ankle plantar flexors receive less passive assistance from the Achilles tendon, the body recruits the larger, metabolically demanding hip muscles. This explains why men over 45 often feel their glutes and lower back fatiguing faster on steep climbs. Preserving ankle strength through loaded calf work helps maintain efficient propulsion.
Eccentric Tolerance and Cartilage Loading
Joint cartilage experiences unique stress profiles during trail descents. Cartilage lacks a direct blood supply, relying on the cyclical compression of joint motion to diffuse nutrients. Decades of sports, running, or occupational loading can reduce the water-binding capacity of joint cartilage, making the knees and hips more sensitive to sudden spikes in volume.
Muscles act as the primary shock absorbers for the joints. When the quadriceps and glutes fatigue during a long mountain descent, their ability to decelerate body weight diminishes. This transfers unbuffered impact forces directly to the knee joint capsule, patellar tendon, and meniscal structures. Maintaining high levels of eccentric strength provides a protective muscular brake that shields joint cartilage.
Proprioception and Sensory Integration
Staying upright on an uneven trail requires continuous feedback from three primary systems: the mechanoreceptors in your feet and joint capsules, the vestibular system in your inner ear, and your visual system.
Over time, the density and firing rates of peripheral mechanoreceptors in the soles of the feet naturally decline. Nerve conduction velocity slows slightly, which lengthens the time between feeling a rock roll underfoot and firing the stabilizing muscles of the hip. When you hike in low light or while fatigued, your visual system cannot fully compensate for slower joint position signals. Deliberate single-leg balance training maintains these neural pathways, keeping reactive foot adjustments sharp.
What Does the Science Mean for Real Trails and Long Days Outside?
Translating laboratory biomechanics into real-world trail performance reveals why conventional gym workouts often fail to prepare hikers for rugged terrain. Hiking is a series of thousands of single-leg landings, ascents, and braking maneuvers performed under load.
- LABORATORY SCIENCE VS REAL TRAIL WORK
- Lab Finding Real Trail Implication
- Hip power 119% Steep climbs demand massive glute capacity
- Downhill braking Descents crush quads without short strides
- Step length loading Long downhill steps strain knee joints
- Unstable pack load Shifting weight destroys lateral balance
Uphill Performance on Steep Elevation
When tackling an ascent with a 1,000-foot gain per mile, your cardiovascular engine is only half the equation. Because your hips produce the vast majority of uphill mechanical work, weak glutes or stiff hip flexors quickly become the limiting factor.
If your hips lack full extension mobility, your pelvis tilts forward, forcing your lumbar spine to hyperextend to keep you upright. This mechanical compensation causes deep lower-back aching on prolonged climbs. Building robust hip extension through deep step-ups and lunges allows you to climb efficiently without stressing your lumbar spine. To dive deeper into joint health principles, explore our comprehensive guide on mobility, joints, and functional movement.
Downhill Knee Preservation
The descent is where most hiking discomfort occurs. Hikers rarely strain muscles going uphill; they experience joint irritation, patellar tendon pain, and profound muscle soreness after descending steep terrain.
When fatigue sets in near the end of a long hike, hikers tend to lean back and take longer, passive strides. This braking strategy creates high vertical ground-reaction forces that slam into the knee joint. Developing the eccentric strength of the quadriceps and calves allows you to absorb descent forces actively through muscular contraction rather than passively through joint structures.
Navigating Uneven and Technical Footing
Trails are rarely flat or uniform. Stepping across boulder fields, exposed roots, and muddy switchbacks forces your ankles into extreme angles of inversion, eversion, and dorsiflexion.
If your ankle lacks sufficient dorsiflexion range of motion, your foot will compensate by collapsing inward or flaring outward. This altered foot placement twists the tibia and strains the medial knee. A mobile, strong ankle allows your foot to adapt to off-camber ground while maintaining stable alignment through the knee and hip. Improving your movement capacity across multiple planes is covered thoroughly in our library of mobility and recovery resources.
How Should You Train Ankle and Hip Function for Mountain Trails?
A comprehensive trail preparation plan must prioritize functional, loaded mobility over passive stretching. Increasing your passive range of motion does not protect joints if you lack the muscular strength to control that range under load.
- ESSENTIAL LOWER-BODY MOBILITY ZONES
- Ankle Dorsiflexion Knee travels over toes without heel lifting
- Ankle Plantar Force Calves drive full extension on steep grades
- Hip Extension Glutes propel body weight past trailing leg
- Hip Rotation Pelvis pivots freely over planted foot
Targeted Ankle Conditioning
The ankle complex serves as your primary interface with the mountain. It must combine sufficient dorsiflexion mobility to allow the knee to track forward over the toes during steep ascents with high plantar-flexor strength to push your body weight upward.
Loaded Ankle Dorsiflexion Mobilization
Set up in a half-kneeling position with your front foot flat on the floor, roughly four inches from a wall. Drive your front knee forward directly over your second toe, keeping your heel firmly planted on the ground. Hold the end range for three to five seconds, feeling a gentle stretch in the calf and Achilles tendon, then return to the start. Perform 10 to 12 controlled repetitions per side. Add a light dumbbell across the top of your knee to increase the mobilization force as your mobility improves.
Deficit Straight-Leg Calf Raises
Stand on a sturdy step or block with the balls of your feet on the edge and your heels hanging off. Lower your heels below the level of the step over a three-second count to achieve a full stretch. Pause for one second at the bottom, then drive upward through your big toes to full plantar flexion, pausing for one second at the peak. Complete three sets of 12 to 15 controlled repetitions. Add hand-held weights once you can perform 15 strict bodyweight repetitions per leg.
Bent-Knee Soleus Raises
Position yourself with your knees bent to roughly 90 degrees, either seated on a bench with a barbell across your knees or using a seated calf raise machine. Lower your heels through a full range of motion over three seconds, then press upward smoothly. The bent-knee position shifts the muscular demand away from the gastrocnemius and onto the soleus, which provides essential stability during sustained uphill climbs. Complete three sets of 15 to 20 repetitions.
Comprehensive Hip Development
Because the hips produce over twice as much propulsive power on steep slopes in older adults, training hip extension, abduction, and rotation is mandatory.
High Box Step-Ups
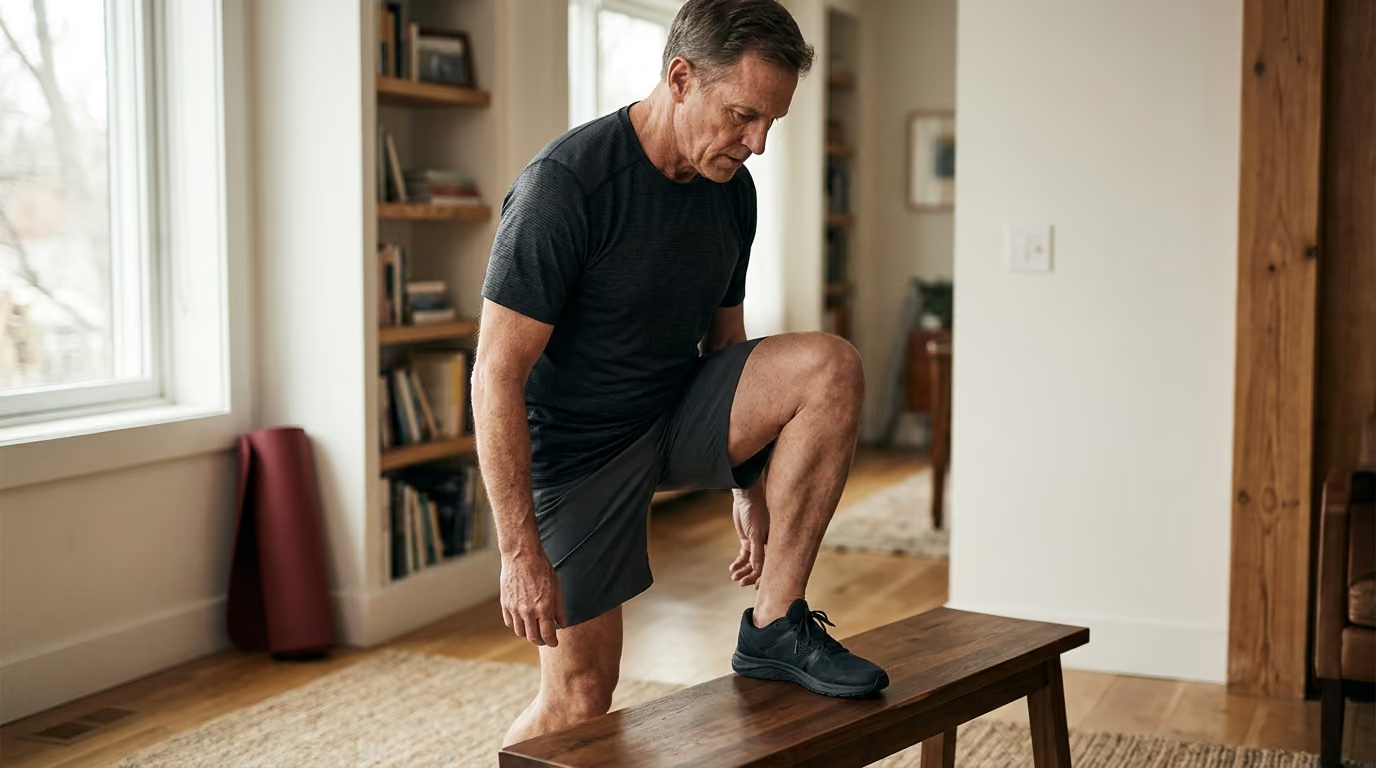
Stand facing a sturdy box or bench set at mid-thigh height. Place your entire foot on top of the box, keeping your torso tilted slightly forward from the hip. Drive entirely through the lead leg to lift yourself up, avoiding any pushing off with your trailing foot. Stand tall at the top by squeezing your glute, then lower yourself down under control over three seconds. Perform three sets of 8 to 10 repetitions per leg. Add a weighted backpack or dumbbells to build strength.
- Step-Up Execution
- 1. Place whole foot on box - 2. Lean torso slightly forward
- 3. Drive through lead heel - 4. Lower slowly without bouncing
Rear-Foot Elevated Split Squats
Stand two feet in front of a bench and place the top of one foot behind you on the bench. Lower your hips toward the floor until your front thigh is parallel to the ground, keeping your front shin relatively vertical. Drive through your front heel and midfoot to return to the starting position. This movement builds single-leg quad strength while actively stretching the hip flexors of the rear leg. Complete three sets of 8 to 10 repetitions per side.
Hip Airplanes
Stand on one leg with a slight bend in your knee and hinge your torso forward until it is parallel to the ground, extending your trailing leg behind you. Slowly rotate your pelvis open toward the ceiling, turning your hips away from the standing leg while maintaining balance. Pause briefly, then slowly rotate your pelvis closed, turning your hips toward the standing leg. This exercise builds deep rotational control and strengthens the gluteus medius for uneven trail stability. Perform two sets of 6 to 8 controlled rotations per leg.
To support your progress and maintain strength as the years advance, explore our complete strength and muscle performance category.
Why Is Single-Leg Stability and Eccentric Braking Crucial for Hikers?
Every step on a mountain is an isolated single-leg task. You must land on one foot, stabilize your entire body weight against shifting ground, and decelerate your momentum before transferring force to the next step.
- ECCENTRIC STEP-DOWN PROGRESSION STAGES
- Stage 1: Low Step-Down 4-inch step, bodyweight only, slow tempo
- Stage 2: Mid-Height Step 8-inch step, hands-free, 4-second lower
- Stage 3: Loaded Step-Down 8-inch step with weighted daypack
- Stage 4: Lateral Drop Step down sideways to challenge hip
The Role of Eccentric Strength on Descents
Concentric strength lifts you up; eccentric strength saves your joints on the way down. When walking downhill, your quadriceps and glutes lengthen under high tension to decelerate your descent. If these muscles lack eccentric conditioning, they suffer microscopic fiber damage rapidly, leading to severe delayed-onset muscle soreness and shaky legs.
Training eccentric capacity requires dedicated slowing of the lowering phase of your exercises. By forcing your muscles to control a heavy load against gravity for three to five seconds, you condition your tendons and muscle fibers to tolerate the brutal repetitive braking demands of a 3,000-foot descent.
Single-Leg Eccentric Step-Downs
The eccentric step-down is the single most valuable exercise for mountain hikers. It directly replicates the movement mechanics and joint angles of stepping down a steep rock ledge.
Stand on an elevated box or step with one foot, letting the other foot hang off the side. Keeping your weight centered over the standing foot, bend your standing knee and push your hips slightly backward to lower your hanging heel toward the floor. Lower yourself over a full four-second count until your heel lightly touches the floor without transferring any weight. Drive back up to the starting position using only the standing leg. Perform three sets of 10 to 12 repetitions per leg.
Lateral Step-Downs for Frontal Plane Control
Trails require stability in the frontal plane, meaning side-to-side control. When you step onto an angled rock, your hip abductors must fire instantly to keep your pelvis level and prevent your knee from collapsing inward.
Stand on top of a step sideways. Lower your outside leg toward the ground by bending your inside knee and sitting your hip back. Keep your knee tracking in line with your second toe throughout the descent. Touch your outside heel to the floor with control, then return to the top. This builds tremendous strength in the gluteus medius, protecting the knee joint against twisting forces. Complete three sets of 10 repetitions per side.
- Lateral Step-Down Checkpoints
Single-Leg Romanian Deadlifts
Descending over obstacles requires posterior chain control while balancing on one leg. The single-leg Romanian deadlift develops balance, foot stability, and eccentric hamstring strength simultaneously.
Stand on your right foot with a slight bend in your knee. Hinge forward at your hips, reaching your left leg straight behind you while lowering your torso toward the floor. Keep your back flat and your hips square to the ground, avoiding any outward rotation of the pelvis. Squeeze your right glute and hamstring to pull yourself back to an upright position. Perform three sets of 8 to 10 repetitions per leg, holding a light dumbbell in the opposite hand to increase the challenge.
How Should You Prepare for Carrying a Loaded Backpack on Uneven Routes?
Carrying a backpack alters your center of gravity, changes your gait kinematics, and increases the mechanical work demanded from every joint in your lower body. Preparing your body for loaded carriage prevents spinal strain and protects your lower limbs.
- PACK CARRIAGE EFFECTS ON GAIT DYNAMICS
- Center of Mass Moves upward and backward
- Posture Shift Forward trunk lean increases back shear
- Impact Forces Ground reaction force rises per step
- Gait Adjustments Cadence increases while stride length drops
Biomechanics of Backpack Carriage
A systematic review and meta-analysis of 54 studies examining symmetrical backpack carriage confirmed that carrying a pack induces significant gait alterations. Wearing a pack causes greater trunk flexion, increases hip and ankle range of motion, elevates vertical and horizontal ground-reaction forces, increases cadence, and reduces stride length.
When you put on a heavy pack, your body leans forward to keep your combined center of mass over your base of support. This forward lean increases shear stress on the lumbar spine and requires continuous isometric endurance from the spinal erectors.
Furthermore, pack stability directly influences dynamic balance. A study of older adults averaging 65 years revealed that unstable or shifting pack loads significantly reduced medio-lateral dynamic stability and increased step-width variability compared to unloaded walking. Unstable loads also forced higher muscle activation in the quadriceps and soleus.
Pack Load Symmetry and Weight Management
Load distribution is just as critical as total weight. A systematic review on load carriage in older adults reported that asymmetrical loads, such as carrying a heavy object on one side, shortened step length, increased step width, caused lateral trunk tilting, and induced uneven muscle activation. Heavier asymmetrical loads generated adverse effects on spinal posture and produced large contralateral hip torques.
The review also noted that symmetrical loads up to 5% of body mass had minimal adverse effects on gait stability and could even enhance static postural steadiness in older adults. Conversely, carrying a load equal to 15% of body mass was associated with a measurable decline in gait stability. While these percentages serve as study reference points rather than rigid rules, they highlight the necessity of keeping your pack light, symmetrical, and tightly secured.
- Pack Weight Reference Points
- 5% Body Mass: Minimal gait disturbance, good stability
- 10% Body Mass: Manageable daypack range with training
- 15% Body Mass: Measurable decline in dynamic gait stability
- 20% Body Mass: Demands extensive progressive preparation
Progressive Pack Conditioning Framework
You should never carry a full daypack or multi-day load on a rugged mountain trail without systematic preparation. Conditioning for pack carriage requires progressive overload across weight, duration, and terrain complexity.
- Phase 1: Flat Ground Loading (Weeks 1-3)
- Pack weight: 5% to 8% body weight
- Terrain: Flat pavement, smooth park trails, or treadmill
- Volume: 30 to 45 minutes, twice weekly
- Phase 2: Elevation Introduction (Weeks 4-6)
- Pack weight: 8% to 10% body weight
- Terrain: Hilly neighborhood streets, stairs, or incline treadmill
- Volume: 45 to 60 minutes, twice weekly
- Phase 3: Technical Terrain Exposure (Weeks 7-9)
- Pack weight: 10% to 12% body weight
- Terrain: Local hiking trails with roots, rocks, and moderate elevation
- Volume: 60 to 90 minutes, once weekly plus one mid-week gym session
- Phase 4: Full Route Simulation (Weeks 10-12)
- Pack weight: Target hike weight (tightly packed and centered)
- Terrain: Mountain trails resembling your objective
- Volume: Progressive half-day to full-day trail hikes
For more evidence-based training methods that enhance physical capacity through midlife, visit our main resource on men's health after 45.
What Are the Most Common Misconceptions About Hiking Fitness?
Navigating hiking fitness requires separating proven biomechanical principles from persistent outdoor myths. Relying on flawed assumptions can lead to chronic joint flare-ups or trail fatigue.
- COMMON HIKING MISCONCEPTIONS VS FACTS
- Myth 1: Flat walking cardio is enough for mountains
- Fact: Flat ground lacks the eccentric load of steep descents
- Myth 2: Stretching hamstrings fixes downhill knee pain
- Fact: Knee pain stems from quad fatigue and eccentric overload
- Myth 3: Trekking poles remove the need for leg strength
- Fact: Poles redistribute load but cannot replace single-leg power
Misconception 1: Flat-Ground Cardio Is Sufficient Mountain Preparation
Many men believe that jogging, cycling, or walking five miles a day on flat ground prepares them for a 10-mile mountain loop. Cardiovascular conditioning does not equal muscular joint resilience.
Flat-ground walking consists primarily of concentric muscle contractions and elastic energy return. It completely lacks the high-force eccentric braking required on descents, the massive hip power required on steep grades, and the multi-planar ankle demands of rocky terrain. Without specific eccentric and single-leg strength training, aerobically fit men often experience severe knee pain and muscle breakdown on mountain descents.
Misconception 2: Passive Stretching Cures Downhill Knee Discomfort
When hikers experience anterior knee pain after a descent, they often assume tight hamstrings or quadriceps are the cause and spend weeks aggressively stretching.
Downhill knee discomfort is rarely caused by muscle tightness. It is typically caused by insufficient eccentric quadriceps strength, poor hip stability, and excessive step length. When the quads fatigue, they can no longer absorb impact forces smoothly, causing the patella to compress forcefully against the femoral groove. The solution is strengthening the quads through slow step-downs and shortening your downhill stride, not stretching passive tissues.
Misconception 3: Trekking Poles Eliminate the Need for Lower-Body Strength
Trekking poles are exceptional tools for reducing joint stress, but they do not replace foundational lower-limb strength.
Poles redistribute roughly 10% to 20% of the load away from the lower limbs to the upper body and improve balance on flat crossings. However, poles cannot prevent knee strain if you take over-striding, heavy downhill steps. Relying on poles as a crutch for poor single-leg stability leaves you vulnerable when you encounter technical terrain where pole placement is awkward or impossible.
To build the muscular power needed to handle real mountain loads, check our dedicated section on strength, muscle, and physical performance.
Where Is the Scientific Evidence on Midlife Hikers Still Thin?
Maintaining a research-first standard means acknowledging the boundaries of current scientific literature. While the principles of biomechanics and resistance training are rock-solid, specific trail research has clear limitations.
- CURRENT RESEARCH LIMITATIONS
- Age Gaps Most fall studies examine adults aged 65 and older
- Setting Gaps Lab treadmills do not match wild mountain trails
- Metric Gaps No single mobility test score guarantees safety
The 45 to 64 Age Gap in Research
Most laboratory gait and biomechanics studies compare young adults (ages 20 to 30) directly against older adults (ages 65 to 80). There is a distinct shortage of controlled biomechanical research examining healthy, active adults specifically aged 45 to 64.
While age-related shifts in ankle power, hip demand, and tendon properties begin during midlife, they occur along a gradual continuum. Hikers in their late 40s and 50s should apply these findings as guiding risk-management principles rather than assuming they experience the exact statistical power drops recorded in 72-year-old laboratory subjects.
Laboratory Settings Versus Wild Wilderness Trails
The vast majority of graded walking and load carriage studies take place on motorized treadmills or smooth force plates in climate-controlled laboratories over brief four-minute trials.
These controlled environments cannot replicate the compounding fatigue, environmental extremes, shifting scree, route-finding demands, and psychological stress of an eight-hour alpine trek. While treadmill data gives us precise joint moment measurements, your real-world joint tolerance will always depend on personal terrain exposure and accumulated training volume.
Lack of Universal Clinical Cutoffs
Scientific literature has not established a universal ankle dorsiflexion angle or single-leg balance score that guarantees an injury-free hike. Mobility demands vary wildly based on trail steepness, pack weight, and individual limb proportions.
Rather than chasing an arbitrary flexibility number, focus on maintaining pain-free range of motion that allows smooth gait mechanics. If your ankle or hip restrictions force your body to compensate by twisting your knee or arching your back, that restriction warrants targeted strength and mobility work.
Frequently Asked Questions About Trail Readiness After 45
Should Men Over 45 Switch From Heavy Boots to Trail Running Shoes?
Footwear selection depends on ankle strength, pack weight, and terrain ruggedness rather than age alone. Traditional hiking boots provide rigid ankle support and stiff soles that reduce the muscular work required from the foot and calf on rocky ground. Trail running shoes offer superior flexibility, lighter weight, and better ground feel, but they place substantially higher demands on your ankle stabilizing muscles and Achilles tendons.
If you choose to use trail runners, you must spend several weeks building foot and ankle strength through calf raises, single-leg balance drills, and short training walks. Men carrying heavy packs over 30 pounds on off-trail routes often benefit from the structured support of a mid-cut boot, while day hikers with light packs usually thrive in well-fitted trail shoes.
- Footwear Decision Factors
- Heavy Boots: Heavy packs ( 30 lbs), off-trail scree, cold weather
- Trail Runners: Light packs ( 15 lbs), established trails, warm weather
- Transition Rule: Build foot strength for 6-8 weeks before swapping
How Much Do Trekking Poles Actually Reduce Joint Stress on Descents?
Trekking poles meaningfully reduce lower-body joint stress when used with proper technique. Biomechanical research indicates that using two poles can reduce ground-reaction forces on the lower limbs by 10% to 20% and significantly decrease the eccentric workload of the quadriceps.
To protect your joints on steep descents, lengthen your poles slightly so your hands remain at waist height. Plant the poles slightly ahead of your feet, letting your arms and shoulders absorb a fraction of your body weight before your lead foot touches the ground. Avoid leaning excessively on the poles; treat them as shock-absorbing stabilizers that complement short, controlled steps.
What Causes Severe Quadriceps Soreness After Mountain Descents?
Severe post-hike quadriceps soreness is caused by exercise-induced muscle damage from sustained eccentric loading. When you walk downhill for thousands of vertical feet, your quadriceps fibers are forced to lengthen while under high mechanical tension to decelerate your body weight.
This repetitive lengthening creates microscopic tears in the muscle fibers and connective tissue, triggering an inflammatory recovery response that peaks 24 to 72 hours later. You can minimize this soreness by performing eccentric step-downs during your weekly strength workouts, progressively increasing descent elevation during training hikes, and shortening your stride on the trail.
- Quadriceps Protection Checklist
How Should You Adjust Strength Training During Peak Hiking Season?
During the peak hiking season when you are logging long mountain routes on weekends, reduce your gym-based lower-body volume to prevent overtraining. Shift your strength focus from building new maximum strength to maintaining joint resilience and movement quality.
Perform two brief 30-minute strength sessions during the week, focusing on single-leg stability, core anti-rotation, loaded carries, and controlled calf raises. Keep repetitions moderate, avoid training to muscular failure, and schedule your final lower-body gym workout at least three days before a major mountain hike to confirm your legs are fresh.
The Takeaway
Hiking capability after 45 relies on building strong hips for uphill power, resilient eccentric strength for downhill braking, and stable single-leg control on uneven terrain. Train these movements consistently under load, shorten your downhill stride, and progressively condition your body with your pack to keep your joints healthy for decades of mountain adventure.
Sources
- Effectiveness of exercise interventions on fall prevention in ...
- Effectiveness of Balance- and Strength-Based Exercise ... - PMC
- World Health Organization 2020 guidelines on physical ... - PMC
- Exercise to prevent falls in older adults: an updated systematic review and meta-analysis
- Effective fall prevention exercise in residential aged care: an intervention component analysis from an updated systematic review
- Exercise for preventing falls in older people living in the community: an abridged Cochrane systematic review
Stay sharp
Get the word
Join our newsletter for the best writing advice and stories from the field.