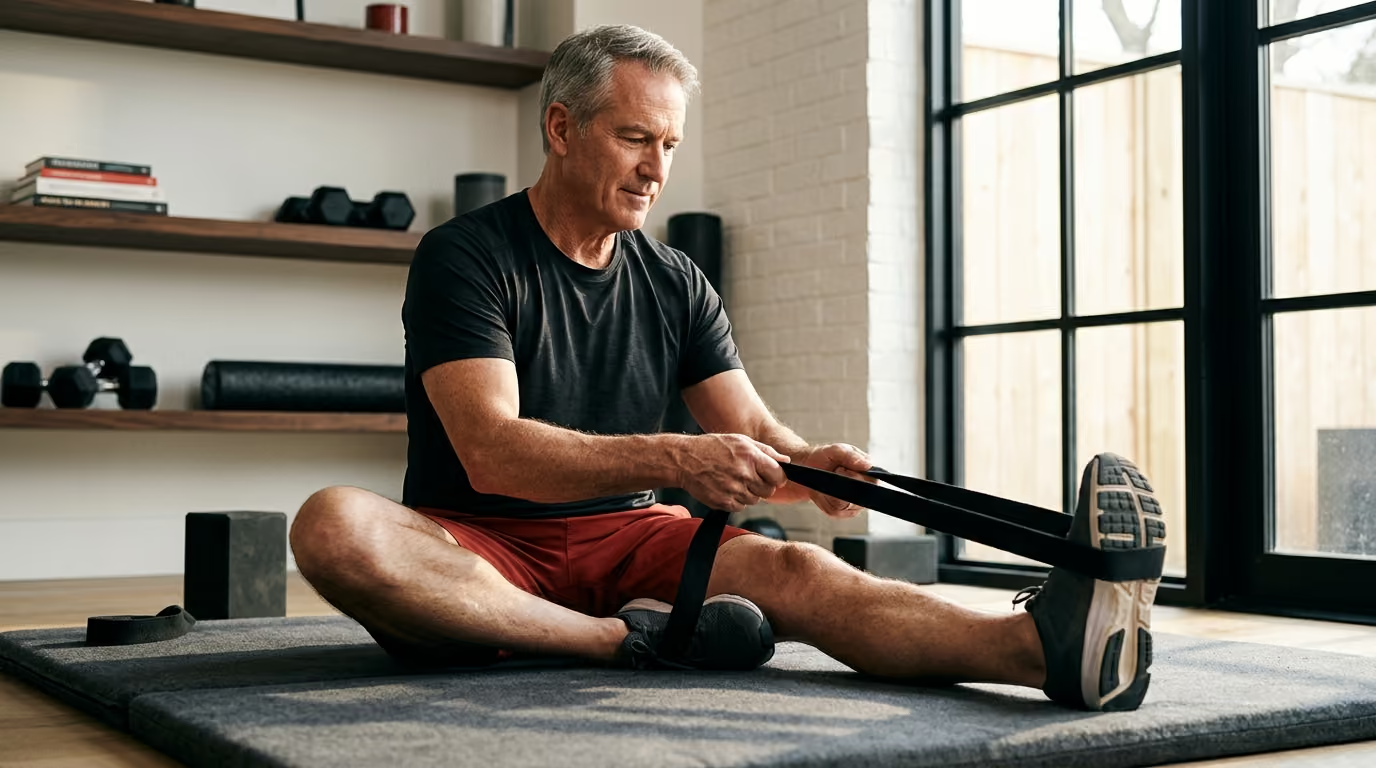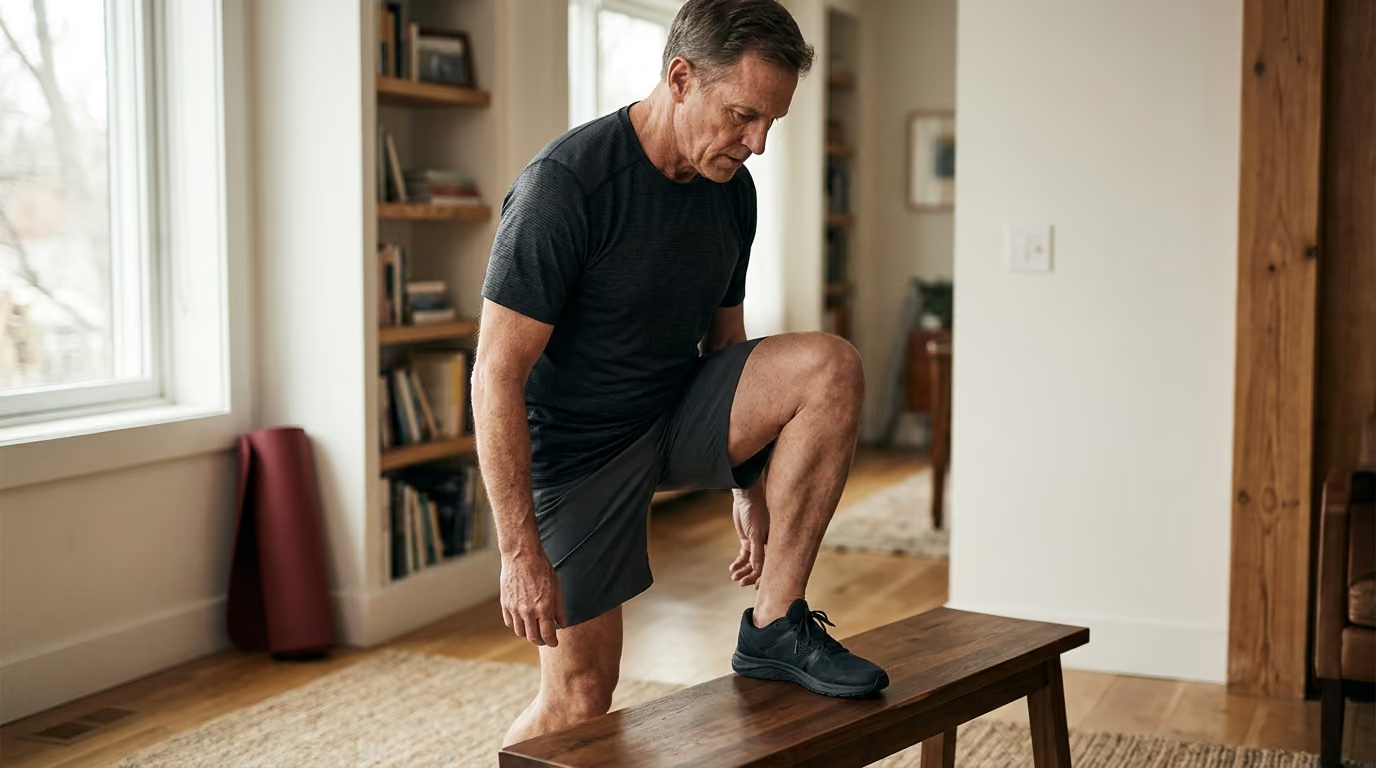
Joint mobility is the ability of a joint to move actively through a usable range of motion under your own muscular control. It is not the same as passive flexibility, which simply measures how far an external force or partner can push your relaxed limb. For men past midlife, maintaining movement capacity is about preserving independence, power, and resilience.
This field manual offers a practical blueprint for assessing and training every major joint complex. It is not an aggressive prescription to force tight tissues into unnatural positions. Instead, it provides a structured method to evaluate your physical baseline, identify functional restrictions, and apply loaded movement patterns that build durable joint control.
- THE FOUR-PILLAR MOBILITY ARCHITECTURE
- 1. ACTIVE RANGE PRACTICE
- Unloaded movement under voluntary muscular control
- 2. LOADED RANGE PRACTICE
- Resistance training through full active joint excursions
- 3. FUNCTIONAL INTEGRATION
- Multi-joint compound patterns (squatting, hinging, lunging)
- 4. BALANCE & DYNAMIC COORDINATION
- Single-leg stability, turning mechanics, and transfer control
What Does Research Actually Show About Joint Mobility and Aging?
Clinical research reveals that joint range of motion changes across the lifespan. A large population reference study found that average joint range of motion decreases with age across both men and women. The researchers noted that commonly cited clinical textbooks often fail to match real-world population measurements.
Reference data from public health archives provide clear benchmarks for men aged 45 to 69:
- Hip Flexion: 127.2°
- Knee Flexion: 132.9°
- Hip Extension: 13.5°
- Ankle Dorsiflexion: 11.9°
- Ankle Plantarflexion: 49.4°
These numbers represent population averages rather than mandatory targets. Individual factors like skeletal anatomy, past sports injuries, bone structure, and physical activity levels shape what is normal for your body.
- AGE-RELATED RANGE OF MOTION (MEN 45-69)
- Joint Movement Population Average
- Hip Flexion 127.2°
- Knee Flexion 132.9°
- Hip Extension 13.5°
- Ankle Dorsiflexion 11.9°
- Ankle Plantarflexion 49.4°
Loss of flexibility does not happen at the same rate across every joint. Research tracking passive movement patterns found measurable declines in knee flexion, hip flexion, hip external rotation, and elbow extension. Ankle dorsiflexion and hip abduction did not show that same pattern of decline in the measured group.
Across older populations, average shoulder and hip flexibility drops by roughly 6 degrees per decade. However, these losses become far more pronounced after age 70 than between ages 45 and 60.
- MOBILITY LOSS TRAJECTORY (HIP & SHOULDER)
- Age Range Rate of Decline
- Ages 45 to 70 Modest reduction ( 0.4° per year)
- Ages 70 Accelerated loss ( 6° per decade)
A critical finding in orthopedic research is that major mobility loss should never be accepted as ordinary aging. Research on hip and knee mechanics indicates that severe restrictions through age 74 are abnormal. When a joint loses significant range or becomes painful, it requires targeted intervention or clinical care rather than passive resignation.
- CATEGORIZING MOBILITY LIMITATIONS
- TYPE MANIFESTATION ACTION REQUIRED: Expected Age Shift Gradual minor stiffness Active movement & load
- TYPE MANIFESTATION ACTION REQUIRED: Side Asymmetry Noticeable L/R imbalance Unilateral training
- TYPE MANIFESTATION ACTION REQUIRED: Task Restriction Difficulty in deep squat Pattern modification
- TYPE MANIFESTATION ACTION REQUIRED: Abnormal Loss Sharp pain, joint locking Medical consultation
Understanding this distinction allows you to categorize physical changes accurately:
- Expected age-associated shifts: Minor, gradual decreases in joint excursion that respond well to consistent physical training.
- Side-to-side asymmetries: Clear differences between your left and right sides that alter lifting mechanics or walking gait.
- Task-specific limitations: Restrictions that interfere with daily activities like stepping over obstacles, carrying loads, or getting off the floor.
- Potentially abnormal restrictions: Sudden, painful, or severe losses of movement that warrant medical evaluation.
Why Do Joints Feel Stiffer After 45?
The sensation of joint tightness in midlife stems from physiological changes in connective tissues, muscle architecture, and the nervous system. Understanding these mechanisms helps you choose the right training tools without viewing your body as broken.
Connective Tissue and Collagen Changes
Tendons, ligaments, and joint capsules are primarily made of collagen and water. With age, the cross-linking between collagen fibers becomes more rigid. Tendons lose some of their water-binding capacity, making connective tissues less compliant.
This structural stiffness protects joints from extreme mechanical strain, but it can make morning movements feel slow or restricted. Synovial fluid, the natural lubricant within joint capsules, also circulates less effectively during periods of physical inactivity. Moving your joints through complete ranges helps circulate this fluid and reduces friction.
- CONNECTIVE TISSUE ADAPTATION CYCLE
- Sedentary Rest Decreased Synovial Fluid Rigid Collagen Links
- Full Hydration Smooth Articular Glide Active Joint Loading
Neuromuscular Tone and Protective Tension
Not all stiffness comes from tight structural tissues. The central nervous system frequently increases muscle tone to create artificial stability around joints it perceives as weak or unsupported.
If your hip stabilizers cannot control your pelvis during a split stance, your brain may tighten your hamstrings and hip flexors as a protective braking system. Forcing these tissues to stretch without building underlying strength rarely creates lasting improvements. Strength training through a full active range teaches the nervous system that your joints are secure, allowing resting tone to normalize.
- PROTECTIVE TENSION LOOP
- Weak Joint Stabilizers - Brain Senses Instability - Neuromuscular Guarding
- Progressive Loaded Range
The Habitual Movement Repertoire
The modern lifestyle narrows the physical patterns men perform each day. Hours spent sitting in chairs, commuting in vehicles, and looking at screens train the body to adapt to a narrow band of joint angles.
Connective tissues adapt to the positions they occupy most often. When you ask your hips or thoracic spine to move outside those common zones, you encounter resistance. This restriction is often an adaptation to disuse rather than permanent damage.
Why Is Passive Stretching Ineffective for Real-World Function?
For decades, static stretching was promoted as the primary cure for stiff muscles and aching joints. Scientific reviews show that while stretching can increase passive range of motion, those gains do not reliably translate into better balance, cleaner gait mechanics, or greater strength.
- PASSIVE STRETCHING VS. LOADED RANGE
- VARIABLE PASSIVE STRETCHING LOADED RANGE TRAINING: Range of Motion Increases Increases
- VARIABLE PASSIVE STRETCHING LOADED RANGE TRAINING: Muscular Strength Minimal impact Substantial increase
- VARIABLE PASSIVE STRETCHING LOADED RANGE TRAINING: Motor Control Low transfer High transfer
- VARIABLE PASSIVE STRETCHING LOADED RANGE TRAINING: Dynamic Balance Inconsistent Proven improvement
- VARIABLE PASSIVE STRETCHING LOADED RANGE TRAINING: Tissue Resilience Low adaptation High tendon remodeling
A systematic review comparing resistance training directly to stretching found that both methods produce similar improvements in range of motion. Resistance training, however, delivers adaptations that stretching cannot match, including increased bone density, enhanced motor unit recruitment, and better tendon stiffness.
A separate meta-analysis of exercise interventions found that active exercise programs significantly outperform static stretching controls for functional balance and knee strength. Stretching improves tolerance to the sensation of muscle pull, but loading a joint through its available range teaches the nervous system how to produce and absorb force at challenging angles.
Developing physical capability after 45 requires training the motion rather than chasing passive flexibility. A complete joint training framework combines four distinct elements:
- FUNCTIONAL INTEGRATION
- (Squats, Hinges, Carries)
- LOADED RANGE TRAINING
- (Split Squats, Presses)
- ACTIVE RANGE PRACTICE
- (Unloaded CARs, Circles)
- Active Range Practice: Moving a joint under its own muscular power without added resistance to lubricate articular surfaces.
- Loaded Range Practice: Using external resistance to build strength and confidence near your end range of motion.
- Functional Integration: Applying individual joint ranges to compound athletic patterns like squatting, lunging, hinging, and rotating.
- Dynamic Balance and Coordination: Challenging your stability on one leg or during rapid direction changes.
How Should Men Over 45 Screen Their Mobility at Home?
Home movement screens are tools for self-evaluation, not medical diagnostic tests. Their purpose is to identify major movement asymmetries, functional balance limitations, and changes over time.
- AT-HOME MOBILITY SCREENING CHECKLIST
The Timed Up and Go Screen
The Timed Up and Go screen is an established tool for assessing functional mobility, agility, and fall risk.
- TIMED UP AND GO (TUG) SETUP
- Chair
- Floor Marker
- Return and Sit
Protocol:
- Place a standard, sturdy armchair with its back against a wall.
- Measure a line along the floor exactly 3 meters (10 feet) in front of the chair and mark it clearly.
- Wear your standard walking shoes.
- Sit with your back against the chair rest and your arms resting on the armrests.
- Start a stopwatch as you stand up, walk at your normal, comfortable pace across the line, turn around, return to the chair, and sit back down.
- Stop the timer the moment your hips touch the chair seat.
The CDC indicates that completing the screen in 12 seconds or longer points to an elevated risk of balance problems and functional decline. Broader international fall guidelines discuss thresholds between 12 and 15 seconds, noting that gait quality and turning confidence are as telling as the exact split time. If you stumble, lose balance, or push heavily off your knees with your hands, take note of those limitations.
- TUG PERFORMANCE THRESHOLDS
- Completion Time Functional Assessment
- Under 10 seconds Excellent functional baseline
- 10 to 12 seconds Normal adult mobility
- 12 to 15 seconds Borderline; balance work recommended
- Over 15 seconds Elevated fall risk; evaluation warranted
The Five-Time Sit-to-Stand Check
This screen tests lower-body power, symmetrical hip drive, and knee stability without requiring specialized gym gear.
- SIT-TO-STAND CHECK
- Stand Fully
- Repeat 5 Times Without Pausing
- v Keep Arms Folded Across Chest
- Touch Seat
Protocol:
- Sit near the front edge of a standard, armless chair with your feet flat on the floor, shoulder-width apart.
- Cross your arms across your chest so your hands rest on opposite shoulders.
- Stand up straight until your hips and knees are fully locked out, then sit back down until your glutes touch the seat.
- Repeat this cycle five times as quickly and smoothly as you can manage under control.
- Pay attention to whether your torso sways forward, whether your knees collapse inward, or if one leg does more pushing than the other.
The Single-Leg Balance and Turning Screen
Static balance on a single foot serves as a practical window into hip stability, ankle reactivity, and central motor control.
- SINGLE-LEG STANCE POSTURE
- ( Head Neutral )
- Torso Upright
- Stance Leg
- Knee 90°
- (Foot Flat) (Suspended)
Protocol:
- Stand barefoot near a clear wall or sturdy kitchen counter so you can catch yourself if you lose balance.
- Lift one foot off the floor by bending your knee to 90 degrees, keeping your thighs parallel.
- Keep your hands on your hips and fix your gaze on an eye-level point across the room.
- Hold the position for 30 seconds without letting your elevated foot touch the ground or hooking it behind your standing leg.
- Note any shaking, excessive foot shifting, or pelvic drop, then test the opposite side.
What Is the Joint-by-Joint Assessment and Training Progression?
Every joint complex in the human body requires a distinct balance of mobility and stability. Training joints in isolation allows you to target blind spots before integrating them back into heavy lifting and everyday movements.
- JOINT-BY-JOINT FUNCTIONAL SPECIALIZATION
- JOINT COMPLEX PRIMARY FUNCTION TRAINING EMPHASIS: Ankle Complex Sagittal Mobility Loaded Dorsiflexion Travel
- JOINT COMPLEX PRIMARY FUNCTION TRAINING EMPHASIS: Hip Complex Multi-Planar ROM Rotational Strength & Hinging
- JOINT COMPLEX PRIMARY FUNCTION TRAINING EMPHASIS: Thoracic Spine Rotational Mobility Extension & Ribcage Expansion
- JOINT COMPLEX PRIMARY FUNCTION TRAINING EMPHASIS: Shoulder Complex Global Clearance Scapular Control & Hanging
The Ankle Complex
The ankle requires adequate dorsiflexion, which is the ability of the shin to travel forward over the foot. Restricted ankle dorsiflexion forces the knees to collapse inward during squats and shortens your walking stride.
- ANKLE DORSIFLEXION (KNEE-TO-WALL TEST)
- Wall
- Knee touches wall
- / (Shin angle)
- Foot
1. Baseline Self-Check (The Knee-to-Wall Test)
- Place your bare foot perpendicular to a flat wall, with your big toe exactly 4 inches (10 cm) away from the baseboard.
- Keep your heel flat on the floor and drive your knee straight forward over your second toe until it touches the wall.
- If your heel lifts off the floor or your knee drifts inward to make contact, your active dorsiflexion is restricted.
2. Active Range Practice (Controlled Ankle Rotations)
- Sit on the floor, lift one leg, and support your thigh with your hands.
- Slowly trace the largest possible circle with your big toe, spending 5 seconds on each full rotation.
- Keep your shin completely still so all movement comes from the ankle joint itself.
- Perform 5 slow circles clockwise and 5 counter-clockwise per side.
3. Loaded Range Practice (Deficit Heel Drops)
- Stand with the balls of your feet on the edge of a sturdy step, holding a handrail for balance.
- Lower your heels below the level of the step over a count of 4 seconds until you feel a deep, comfortable stretch through your calves and Achilles tendons.
- Pause in the bottom position for 2 seconds, then press up through your big toes to full extension.
- Complete 3 sets of 8 to 10 controlled repetitions.
4. Functional Integration (Elevated Goblet Squat)
- Hold a light kettlebell or dumbbell at chest height with your heels resting on a 1-inch weight plate.
- Squat down between your hips, letting your knees travel forward over your toes while keeping your chest upright.
- Pause at the bottom for 2 seconds to reinforce comfortable joint positioning, then stand up smoothly.
- Perform 3 sets of 6 to 8 repetitions.
- ANKLE REHABILITATION PROGRESSION
- Knee-to-Wall Check
- Active Circles
- Deficit Heel Drops
- Elevated Goblet Squat
The Hip Complex
The hip is a multi-axial ball-and-socket joint that demands mobility in multiple directions, including flexion, extension, internal rotation, and external rotation. Lack of hip motion frequently leads to compensatory strain on the lower back and knees.
- SEATED HIP ROTATION SCREEN
- Internal Rotation: Shin swings outward (30°-40°)
- External Rotation: Foot swings inward across midline (40°-45°)
- Thigh Stationary
- Knee Pivot
- (Internal) (External)
1. Baseline Self-Check (The Seated Hip Rotation Check)
- Sit on the edge of a firm bench or table with your knees bent at 90 degrees and your thighs pointing forward.
- Keep your pelvis level and rotate your lower leg outward away from your body to test internal rotation, aiming for roughly 35 degrees.
- Swing your lower leg inward across your midline to test external rotation, aiming for roughly 45 degrees.
- Compare both legs to check for side-to-side differences.
2. Active Range Practice (The 90/90 Hip Transition)
- Sit on the floor with your lead leg bent at 90 degrees in front of you and your trail leg bent at 90 degrees out to the side.
- Keep your torso tall and rotate your knees upward and across to the opposite side without using your hands for support if possible.
- Move slowly between positions, pausing for 3 seconds on each side.
- Perform 6 controlled transitions in each direction.
- 90/90 HIP POSITION
- Front Knee 90°
- Pelvis Level
- Rear Knee 90°
3. Loaded Range Practice (The Rear-Foot Elevated Split Squat)
- Place the top of your back foot on a bench behind you and take a long stride forward with your working leg.
- Lower your back knee toward the floor under control until your front thigh is parallel to the ground.
- Drive through the midfoot and heel of your front leg to return to the starting position.
- Perform 3 sets of 6 to 8 repetitions per leg using your bodyweight or light dumbbells.
4. Functional Integration (The Romanian Deadlift)
- Hold a barbell or pair of dumbbells in front of your thighs with a soft bend in your knees.
- Hinge at your hips by pushing your glutes straight back toward the wall behind you, keeping your back flat.
- Lower the weights along your shins until you feel your hamstrings load, then drive your hips forward to stand tall.
- Complete 3 sets of 8 repetitions.
The Thoracic Spine and Ribcage
The mid-back is built for rotation and extension. When the thoracic spine becomes rigid from extended desk work, the body often forces the neck and lumbar spine to twist and bend beyond their ideal ranges.
- SEATED THORACIC ROTATION SCREEN
- Arms Crossed on Chest
- Pelvis Locked
1. Baseline Self-Check (The Seated Rotation Screen)
- Sit straddling a bench with your knees gripping the sides to lock your pelvis in place.
- Cross your arms over your chest, placing your hands on opposite shoulders, and sit up straight.
- Rotate your shoulders as far as you can to the right without letting your hips shift, aiming for roughly 45 degrees of turn.
- Repeat the rotation to the left and compare your range and comfort in both directions.
2. Active Range Practice (The Quadruped Thread-the-Needle)
- Start on all fours with your hands under your shoulders and your knees under your hips.
- Reach your right arm underneath your chest, sliding the back of your hand along the floor until your right shoulder rests lightly on the ground.
- Reverse the movement and reach your right hand up toward the ceiling, turning your chest to follow your hand.
- Perform 8 smooth repetitions per side.
- QUADRUPED THREAD-THE-NEEDLE
- Floor Position: Hands & Knees
- Phase 1: Sweep Arm Under Torso - Phase 2: Reach Hand to Ceiling
3. Loaded Range Practice (The Half-Kneeling Cable or Band Woodchop)
- Kneel on your right knee with your left foot forward, holding a resistance band or cable handle with both hands over your right shoulder.
- Pull the band diagonally down and across your body toward your left hip, rotating through your ribcage while keeping your pelvis locked forward.
- Return to the starting position over a controlled 3-second tempo.
- Perform 3 sets of 10 repetitions per side.
4. Functional Integration (The Single-Arm Offset Farmer's Carry)
- Pick up a heavy dumbbell or kettlebell in one hand and let your other arm hang free at your side.
- Stand tall, brace your midsection, and walk forward in a straight line for 30 paces without letting the weight pull your torso to the side.
- Turn around, switch hands, and return to your starting point.
- Complete 3 rounds per arm.
The Shoulder Complex
The shoulder relies on coordinated movement between the glenohumeral joint and the shoulder blade. Men over 45 often experience shoulder irritation when the upper back stiffens and the shoulder blade loses its ability to glide upward during overhead movements.
- SHOULDER BACK-SCRATCH TEST
- Left Arm: Reaching down from top (Hand behind neck)
- Right Arm: Reaching up from bottom (Hand behind mid-back)
- Target: Fingertips touching or within 2 inches (5 cm)
1. Baseline Self-Check (The Back-Scratch Screen)
- Stand tall and reach your right hand up, over your right shoulder, and down your spine with your palm facing your back.
- Reach your left hand behind your lower back and reach up your spine with the back of your hand facing your body.
- Measure the distance between the fingertips of your right and left hands, aiming to touch your fingers or stay within 2 inches.
- Switch arm positions to test the opposite pattern and check for side-to-side differences.
2. Active Range Practice (Controlled Shoulder Rotations)
- Stand tall with one arm pinned to your side and your free hand on your ribcage to prevent arching your lower back.
- Raise your working arm straight forward and upward past your ear without twisting your torso.
- At the top, rotate your thumb inward and sweep your arm backward, tracing a large circle until your hand rests by your hip.
- Reverse the path by reaching straight back, rotating outward, and sweeping forward to the starting position.
- Perform 5 slow, deliberate circles per arm.
- CONTROLLED ARTICULAR ROTATION (SHOULDER)
- Raise Forward - Rotate Inward at Top - Reach Backward - Return to Hip
3. Loaded Range Practice (The Half-Kneeling Landmine Press)
- Set a barbell into a landmine base or secure it in a corner, kneeling on the knee on the same side as your pressing arm.
- Hold the end of the barbell at shoulder height with your elbow tucked at a 45-degree angle to your body.
- Press the barbell upward and forward along its natural arc, reaching fully at the top so your shoulder blade glides around your ribcage.
- Lower the bar under control over a count of 3 seconds.
- Perform 3 sets of 8 repetitions per side.
4. Functional Integration (The Passive-to-Active Dead Hang)
- Grip an overhead pull-up bar with an overhand, shoulder-width grip and hang with your feet completely off the floor.
- Relax your shoulders for 2 seconds to let your lats and joint capsules decompress.
- Pull your shoulder blades down and back to lift your body by 2 inches without bending your elbows, hold for 2 seconds, then lower under control.
- Complete 3 sets of 5 repetitions, or accumulate 30 to 45 seconds of total hanging time.
What Are the Most Common Misunderstandings About Mobility?
Popular fitness advice often treats the bodies of men over 45 with extreme viewpoints. Misconceptions can lead to wasted effort or unnecessary fear of regular exercise.
- MOBILITY MYTHS VS. SCIENTIFIC EVIDENCE
- POPULAR BELIEF RESEARCH REALITY: Stiff joints must match 20- Population ranges vary naturally.
- POPULAR BELIEF RESEARCH REALITY: year-old textbook standards. Asymmetry and task ability matter more.
- POPULAR BELIEF RESEARCH REALITY: Joint clicking indicates joint Painless joint sounds (crepitus) are
- POPULAR BELIEF RESEARCH REALITY: damage that requires rest. normal gas movements in synovial fluid.
- POPULAR BELIEF RESEARCH REALITY: Aggressive daily stretching is Loaded training through full range
- POPULAR BELIEF RESEARCH REALITY: essential to prevent injury. builds strength and mobility together.
Myth 1: Every stiff joint must be forced to match textbook angles
Many fitness programs assume that every man must achieve arbitrary mobility standards, such as a rock-bottom squat or touching the palms flat to the floor. Population studies show that healthy joint ranges vary widely across individuals.
Variations in hip socket depth, femoral neck angles, and past joint adaptations mean that forcing a joint to match an arbitrary standard can cause impingement and soft tissue inflammation. The primary goal is functional clearance for the activities you enjoy, not textbook symmetry.
Myth 2: Joint clicking and popping indicate structural wear
Men often avoid training through full ranges of motion because their joints click or pop. Painless joint sounds, known clinically as crepitus, are common and typically harmless.
These sounds usually stem from rapid pressure changes within the synovial fluid or tendons shifting over bony contours. If a sound is not accompanied by pain, swelling, or joint locking, it does not point to cartilage damage. Avoiding movement out of fear often leads to genuine stiffness and weakness over time.
Myth 3: Passive stretching is required to prevent sports injuries
Long-held gym dogma claims that static stretching before physical activity protects against muscle strains. Systematic exercise reviews show that pre-exercise static stretching has minimal effect on overall injury rates and can temporarily reduce explosive muscle power.
A dynamic warm-up that raises core temperature and takes joints through active ranges prepares connective tissues far more effectively. To support your joints and recovery, focus on resistance training, balance work, and sleep rather than extensive static stretching routines.
You can find more research-backed approaches to muscle preservation in our guide to healthy aging and our detailed review of functional movement and joint health.
When Does Joint Stiffness Require Professional Medical Evaluation?
While common muscle tightness responds well to progressive home exercise, certain joint symptoms point to issues that require a formal medical assessment. Knowing when to stop self-training protects you from aggravating underlying injuries.
- CLINICAL RED FLAG SCREENING
- SYMPTOM POSSIBLE UNDERLYING ISSUE: Mechanical Joint Locking Meniscal tear, labral tear, loose body
- SYMPTOM POSSIBLE UNDERLYING ISSUE: Hot, Red, Swollen Joint Infection, crystalline arthropathy, gout
- SYMPTOM POSSIBLE UNDERLYING ISSUE: Unexplained Night Pain Inflammatory disease, systemic condition
- SYMPTOM POSSIBLE UNDERLYING ISSUE: Sudden Neurological Deficit Radiculopathy, severe nerve compression
- SYMPTOM POSSIBLE UNDERLYING ISSUE: Recurrent Unexplained Falls Vestibular disorder, motor impairment
Clinical guidelines identify red flag symptoms that warrant evaluation by a physician or physical therapist:
- Mechanical locking or catching: A joint that physically jams and prevents you from straightening or bending the limb points to internal joint issues, like a torn meniscus, a labral tear, or a loose cartilage fragment.
- Acute inflammation: A joint that becomes warm to the touch, noticeably red, and swollen without an obvious physical strain requires immediate evaluation to rule out gout, crystalline arthropathies, or joint infections.
- Constant night pain: Musculoskeletal stiffness typically eases when you lie down to rest. Pain that wakes you from deep sleep or aches regardless of position requires a medical checkup.
- Neurological symptoms: Progressive numbness, tingling running down the arms or legs, muscle wasting, or foot drop indicate nerve root compression that cannot be stretched away.
- Rapid, unexplained range loss: Losing significant movement across several days or weeks is abnormal and requires clinical imaging and a formal diagnosis.
- Recurrent falls or gait changes: Stumbling frequently or feeling unsteady when turning warrants a comprehensive assessment of balance, medications, and vision.
Guidance from the American Geriatrics Society and international fall prevention groups highlights that recurrent falls require a structured assessment of balance, muscle strength, and gait mechanics. If your self-assessment reveals significant limitations, consult a healthcare professional. To understand how balanced training supports physical capability over time, explore our mobility and recovery section and our framework for building strength and muscle.
Where Is the Scientific Evidence Thin or Mixed?
A research-led approach requires honesty about the limits of current scientific literature. Several areas in mobility training lack definitive consensus:
- CURRENT EVIDENCE GAPS IN MOBILITY
- RESEARCH DOMAIN STATE OF CURRENT EVIDENCE: Male-Specific Joint Standards Thin. Most normative charts draw from
- RESEARCH DOMAIN STATE OF CURRENT EVIDENCE: for Ages 45 to 65 mixed-sex or frail elderly cohorts.
- RESEARCH DOMAIN STATE OF CURRENT EVIDENCE: Single-Threshold Fall Screens Mixed. Fixed cutoffs (e.g. 12s TUG)
- RESEARCH DOMAIN STATE OF CURRENT EVIDENCE: in Active Midlife Men lack precision in healthy adults.
- RESEARCH DOMAIN STATE OF CURRENT EVIDENCE: Foam Rolling and Soft-Tissue Early/Transient. Short-term neural
- RESEARCH DOMAIN STATE OF CURRENT EVIDENCE: Tooling for Long-Term Range gains without structural changes.
The Lack of Midlife-Specific Standards
Much of the published literature on mobility and balance focuses either on elite competitive athletes under 30 or older adults over 65 who live in assisted-care facilities. Healthy, physically active men aged 45 to 65 remain underrepresented in long-term intervention studies. As a result, exact flexibility recommendations are often extrapolated from older, mixed-sex populations rather than verified through midlife-specific trials.
Mixed Data on Single-Cutoff Fall Screens
Screening tools like the Timed Up and Go offer a helpful broad baseline, but clinical research shows that using a single cutoff time to predict fall risk produces mixed results. Highly active men often pass standard balance screens with ease, even when they carry meaningful joint asymmetries or rotational restrictions that limit their athletic performance.
Foam Rolling and Soft-Tissue Tools
Commercial markets heavily promote massage guns, foam rollers, and scraping tools as solutions for breaking up scar tissue and lengthening fascia. Peer-reviewed research indicates that these tools provide temporary neural down-regulation and short-term pain relief. However, there is little evidence showing they produce permanent changes in tissue length or joint range of motion.
What Is the Core Takeaway for Men Over 45?
Age-related joint stiffness is a manageable shift in tissue properties and movement habits rather than an irreversible disease. Training your joints through full active ranges with appropriate resistance builds durable, capable movement for the decades ahead.
Frequently Asked Questions About Joint Mobility After 45
Can lifting heavy weights make my joints stiffer?
Lifting weights through partial ranges of motion without balance can reinforce movement restrictions over time. However, resistance training performed through full, active joint ranges improves mobility as effectively as dedicated stretching protocols. Resistance training also builds muscular support around your joints, providing stability that passive stretching cannot match.
How often should I train mobility each week?
Short daily sessions work better than long, occasional workouts. Spending 5 to 10 minutes each morning running your joints through active, controlled rotations maintains synovial fluid circulation and reinforces motor patterns. You can integrate loaded mobility work directly into your weekly strength sessions 2 to 3 times per week.
Should I foam roll before starting my mobility exercises?
Foam rolling is optional. It does not break down scar tissue or permanently lengthen fascia, but it can temporarily reduce the sensation of muscle tightness and make active movement feel smoother. If you enjoy foam rolling, spend 1 to 2 minutes per muscle group before your dynamic warm-up, and follow it up with active movement.
What should I do if one hip is noticeably tighter than the other?
Side-to-side asymmetries are common and often stem from past injuries, preferred sports stances, or habitual seated postures. Address the tighter side by performing extra sets of unilateral exercises, like rear-foot elevated split squats and single-leg Romanian deadlifts. Match the resistance and repetitions to what your tighter side can handle under clean control, without forcing painful ranges.
Sources
- Standardized Definition of Red Flags in Musculoskeletal Care
- Clinical Practice Guidelines on Fall Prevention and Management for Older Adults
- Musculoskeletal Pain in Older Adults: A Clinical Review - PMC
- Management of Falls in Community-Dwelling Older Adults: Clinical Guidance Statement From the Academy of Geriatric Physical Therapy of the American Physical Therapy Association
- World guidelines for falls prevention and management ... - PMC
- Guideline Osteoarthritis: assessment and management
Stay sharp
Get the word
Join our newsletter for the best writing advice and stories from the field.